

As experts in freeze-dried and dehydrated emergency food, we often receive the question, “How do youfreeze-dry food at home without a machine to create yourfood storage supply?”
Believe it or not, you don’t need one of the big fancy freeze-drying machines to make your own freeze-dried food. Instead, there are two popular methods for how to freeze-dry food without a machine, which we will talk about below.

But first, you should understand that freeze-drying food at home comes with a few caveats that are worthy of consideration.
Let’s discuss the realities of freeze-drying food at home, then talk about two ways you can freeze-dry without an expensive specialty machine, all from the comfort of your home.
Important Considerations for Freeze-Drying at Home
Homesteaders and preppers love to plan. Part of their planning is considering how they can store delicious and nutritious food for a long time. As a result, they often resort to popular food preservation techniques, such as canning and pickling.
Nowadays, however, more and more people are becoming curious about how to freeze dry foods at home without investing thousands of dollars into a purpose-built machine.
It is possible. However, it may not always be your best choice. We have three pieces of important advice to consider before attempting freeze-drying at home:
-
Freeze-drying at home takes a lot of time and effort. For example, the process often takes weeks to accomplish. Depending on your schedule, the labor-intensive nature of freeze-drying at home may sound ideal but unrealistic.
- The food you freeze-dry at home is only good if you have plans to eat it relatively soon. Unfortunately, it will not have the full emergency food 25 year shelf life that professionally freeze-dried food has just because it’s very difficult to get all the moisture out without professional freeze drying equipment.
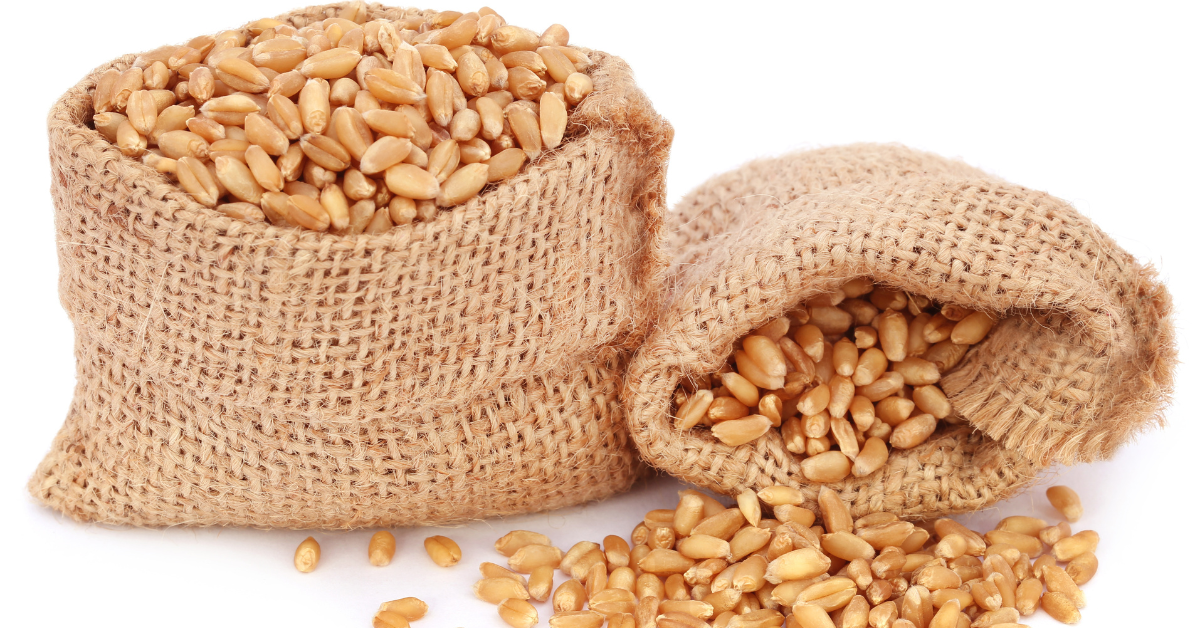
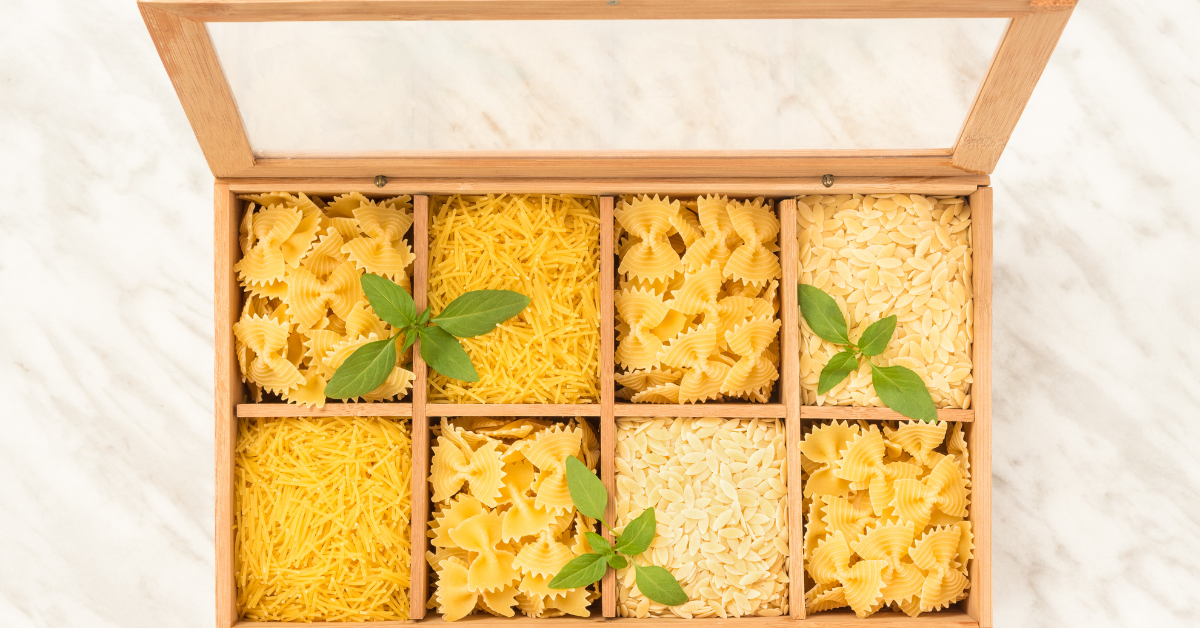
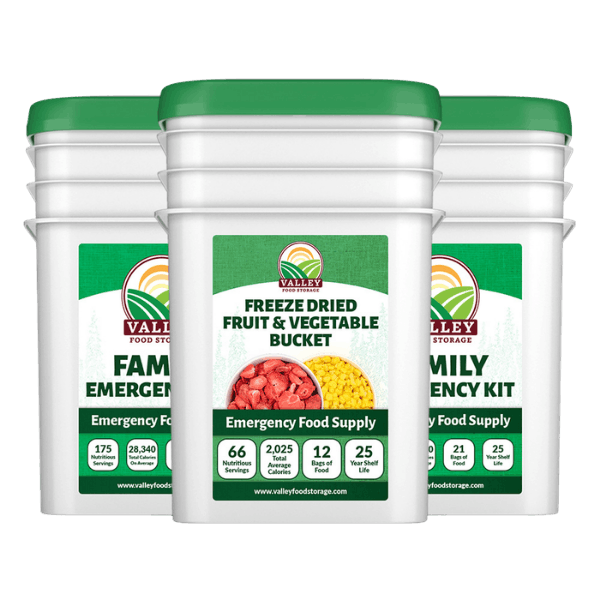
- To get the best food, you can always buy aselection of freeze dried fruits and freeze dried vegetables to ensure your food lasts and is ready for you in case of food shortages or emergencies.
Below we will talk about thedifference between freeze-dried and dehydrated foods. We will also share two methods you can try to freeze dry food without a machine.
Let’s Talk About Dried Food
It’s not uncommon for people to accidentally use freeze-dried and dehydrated interchangeably when talking about dried food. The reason this mistake occurs is probably that the end result of the two processes is so similar.
Freeze-drying and dehydrating food creates shelf-stable and nutritious food that lasts upwards of two decades. However, the processes for how the food is dried are quite different.
Dried food encompasses the two categories of freeze-dried and dehydrated foods. Simply put, food is considered “dried” when the food's water content has been removed or significantly reduced.
Therefore, freeze-dried and dehydrated foods are both considered dried food. However, not all dried food is freeze-dried or dehydrated.
Freeze-Dried Vs. Dehydrated Food
Freeze-dried and dehydrated foods differ in four important categories:
- The equipment you use
- The texture of the food
- The nutritional value of the food
- The cost of the entire process and the end product
What Equipment Do You Need?
Commercial freeze-drying operations use expensive machinery. However, you can freeze dry at home using the freezer you already have—or even simpler, a cooler and some dry ice.
How Do the Textures Differ?
You might assume that freeze-dried and dehydrated foods have the same texture. However, that would be incorrect. Despite the two processes rendering a similar result, the texture of the two is different. Dehydrated food is chewier, whereas freeze-dried food is firm and crunchy, because it contains even less moisture than that of dehydrated foods.
Which is More Nutritious?
Both freeze-dried and dehydrated foods are nutritious. Neither of the two processes eliminates the nutritional content—vitamins, minerals, proteins, carbs—of the food being dried.
However, because freeze-drying eliminates more water from the product than dehydrating, freeze-dried food typically has a longer shelf life.
Is Freeze-Drying More Expensive?
Yes, in most cases, freeze-dried foods are more expensive than dehydrated foods. Typically, freeze-dried foods come with a more expensive price tag because the process is more involved.
For example, commercial freeze-drying operations utilize expensive equipment for upwards of 40 hours to dry a single batch of food. To purchase the equipment and do it yourself would also be expensive.
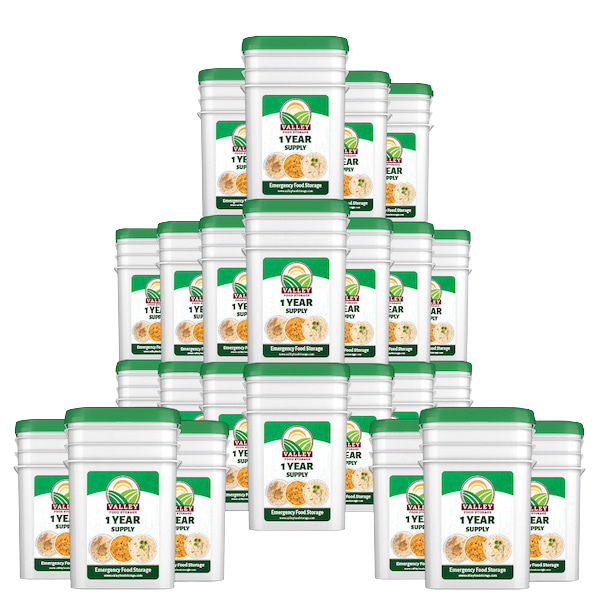
On the other hand, should you need a bulk amount, there’s nothing better than the easy-to-use pre-packagedsurvival food bucket; they are much more affordable.
[product_render product-handle="45-serving-food-kit-special-offer"]
1. Freeze Drying Food – The Home Freezer Method
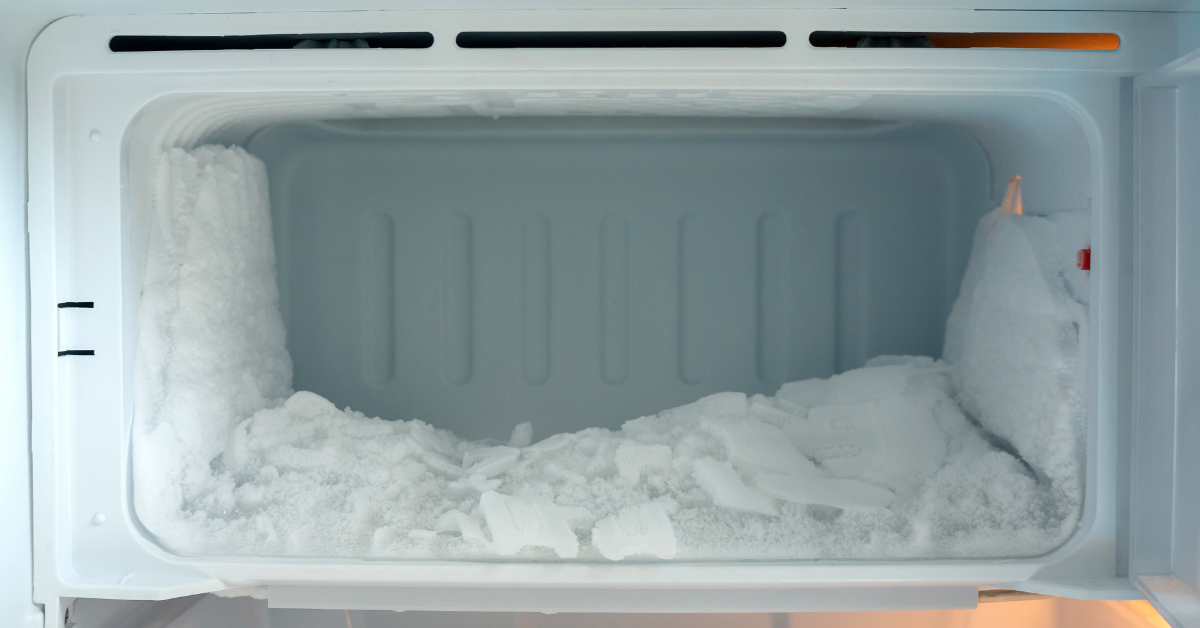
One misconception about freeze-drying is that it’s a massively complex procedure, but in reality, you can do it in your home freezer. That said, the process takes an extended amount of time.
To freeze dry with your freezer at home you will need a few items.
- A cookie sheet, cooling rack, or large plate.
- The food of your choice.
- Ample space in the freezer (and patience).
A Quick Step-by-Step Summary of Freeze-Drying at Home with a Freezer:
- Wash and cut up your chosen food into small slices or chunks.
- Place your food on a tray in a single layer, avoiding stacking.
- Place the tray in your freezer where it can be out of the way.
- Wait 2-3 weeks, periodically checking the freeze-drying process.
- When adequately freeze-dried, remove the food and store it in an airtight container or bag.
A Few Things to Remember About Freeze Drying at Home With Your Freezer
To freeze-dry food at home, the first task will be to prep the food you want to freeze. Before cutting, it’s essential to wash the food you want to freeze to eliminate any dirt or contaminants. Next, we recommend cutting your food into small slices or chunks to facilitate the removal of moisture.
After that, simply place your sliced food onto a cookie sheet or tray and place the tray in your freezer. In an ideal scenario, a deep freezer works best, but your normal freezer will work too.
The food will start to freeze in the first few hours. However, it's important to note that the drying process will take weeks before you'll have the freeze-dried food you want. The process through which food freeze-dries is known assublimation. Sublimation is what differentiates freeze drying from simply freezing food inside sealed bags or dehydrating food.
How to Tell When It’s Done Freeze Drying
After a few weeks, it will be time to check the food you have freezing. The best way to check how the food is drying is to remove a frozen piece and set it aside to let it come to room temperature. If the food turns dark or black, it means the drying process is still not complete.
On the other hand, frozen food that doesn’t change color has been freeze-dried thoroughly.
Once that has been achieved, you can store the freeze-dried food in air-tight ziplock bags. Remember, freeze-dried food should be kept in storage that stays under 75 degrees.
As you get started, it is important to note that starting out with simple foods that have a high water content is recommended. These foods are the easiest to freeze-dry. Try fruits like apples, berries, and bananas, or vegetables like broccoli and peppers.
Freeze-drying animal products gets a little trickier. If you want to avoid freeze-drying animal products at home, you can check out ourfreeze-dried meat selection.

Properly making freeze-dried food in the freezer is more of an art than a science. It may require some trial and error, but eventually, you will refine your process.
2. Freeze Drying Food – The Dry Ice Method

The next at-home freeze-drying process we want to discuss does not require special machinery either. Similar to the first method, you will only need a few important items:
- A large styrofoam cooler.
- The food of your choice, properly prepared and cut into slices or chunks.
- Ample amount of dry ice.
- Freezer-safe, durable and air-tight bags.
Because dry ice lets all moisture from food evaporate very quickly, this method is much faster than the first one, unless it is incredibly humid where you live.
In an ideal scenario, we recommend starting the freeze-drying process on a day or time of year when the humidity level is low, if not zero. The reason is that the more moisture in the air, the longer the freeze-drying process will take.
A Quick Step-by-Step Summary of Freeze-Drying with Dry Ice:
- Wash and slice your food into small pieces or chunks, placing them in airtight, freezer-safe but unsealed bags
- Neatly place the freezer bags in a large Styrofoam cooler.
- Cover the food with dry ice.
- Wait a minimum of 24 hours, maybe longer.
- When the food is adequately freeze-dried, remove the bags of dried food and store them properly.
Dry Ice Safety Guidelines
Dry ice safety is important. Due to the potential dangers of working with dry ice, we would be remiss not to mention a fewsafety considerations first.
- Ideally, dry ice should be transported in styrofoam containers, not electronic refrigerators or freezers.
- We recommend using thermallyinsulated gloves. Dry ice is so cold that if you handle it with your bare hands, you may be putting yourself at risk of severe burns. Neoprene gloves can freeze and adhere to your skin, and will then be difficult to remove. Leather or cloth oven mitts would work as well.
- Dry ice must be stored in well-ventilated areas. Do not store dry ice in cars, vans, hallways, closets, walk-in freezers, or closed rooms.
- Do not place dry ice in plastic, glass, or metal containers not rated for dry ice.
- Dry ice must be used (or disposed of) in an area where it can sublimate into the outside air or well-ventilated space.
- Avoid disposing of dry ice in your sink, toilet, or down the drain, because it can destroy your plumbing.
- Refrain from disposing of your dry ice in the garbage can.
- Avoid placing dry ice into completely sealed containers.
Using Dry Ice to Freeze-Dry Food at Home
To begin your freeze-drying process, place the food in the cooler. We recommend using a container at least double the size of the food you are freezing. That way, you can freeze-dry large amounts of food at one time using ample dry ice. Also place the food in a plastic bag so it’s not in direct contact with the dry ice, but leave the bag unsealed so that moisture can escape.
Next, completely cover the food with dry ice. For best results, we recommend using a 1:1 ratio—one pound of dry ice for every pound of food you want to freeze-dry.
At this point, we want to remind you not to seal your cooler or container completely. In sealed containers, dry ice can create high enough pressures to rupture or explode.
For that reason, if you have to use a lid or an improvised container like a plastic tote, make sure to drill holes. To avoid drilling holes in your cooler, we recommend leaving the lid propped open.
Lastly, let the process take its course and wait until there is no more dry ice in the container. At this point, the container is now full of carbon dioxide and free from any moisture.
Wait to remove the food until you are ready to place it in bags immediately.
We suggest using high-quality freezer bags to store your food. As you transfer your freshly freeze-dried food into bags, take your time and pay attention, making sure no moisture enters the bag—that will ruin all your hard work! For best results, we recommend using a vacuum sealer.
Tips for Freeze Drying Food At Home
-
If it's your first time, start with simple options like bananas, apples, and berries. Vegetables like broccoli and peppers are also good for beginners.
-
The thinner you can slice and the smaller you can make your chunks, the better.
-
If you are going to try the dry ice method, don’t take any shortcuts and follow all the safety guidelines we outlined above.
-
If you enjoy freeze drying at home, consider buying a deep freezer and installing shelves so you can freeze dry bulk amounts of food at one time.
-
Try out other food preservation techniques to supplement your freeze-drying; some foods are better off being pickled or canned.
- Some food, namely apples and peaches, will oxidize and turn brown. We recommend spritzing them with lemon juice to prevent this.
- Freeze drying does not kill bacteria. So make sure to keep your process clean—wash the foods beforehand and keep your freezer clean.
- Some food may benefit from blanching before freeze-drying. Blanching certain foods will help them be the right texture and color when rehydrating them later. We recommend blanching carrots, potatoes, beans, asparagus, and parsnips.
- Avoid freeze-drying strong-smelling and tasting foods in the same batch. For example, you do not want your berries to taste like the curry powder you freeze-dried.
- Try not to overload your freezer; process your food as uniformly as possible; and keep your food under the lip of the tray in a single layer.
Frequently Asked Questions About How to Freeze Dry
Have more questions? Fantastic! We have more answers.
How long does freeze-drying at home take?
It depends on the method you are using. In general, freeze-drying food takes a long time. With a specialty machine, freeze-drying can take upwards of 20 hours, or longer. With a standard freezer, the process can take as long as a month.
How long the process takes also depends on the type of food you are freeze-drying. Foods like corn, peas, and slices or chunks of meat dry quickly. However, other foods like squash and watermelon take longer.
The thickness of the food slices will also affect the drying time. Typically, the thinner and smaller the food can be, the better.
What types of food cannot be freeze-dried?
We have good news. Most types of food can be freeze-dried. However, freeze-drying food with dry ice works best with fruits and vegetables. But that doesn’t mean you cannot try other foods too. You can try freeze-drying meats, desserts, and dairy.
With that being said, there is a short list of foods that we do not recommend you freeze dry. This includes food like syrup, jam, honey, butter, and pure chocolate.
How do you rehydrate freeze-dried food?
Some types of freeze-dried food can be enjoyed without rehydrating. However, some foods, like freeze-dried meat and vegetables, are better if you rehydrate them.
To rehydrate your freeze-dried food, add hot water to the food item and let it soak for several minutes.
Conclusion – How to Freeze Dry Food at Home
If you are dead set on doing your freeze drying from home, the two methods from above could be great options for you instead of spending $3,000-$4,000 onHarvest Right Freeze Drier. However, if you want to freeze dry on a budget, you’ve now learned about the best ways to freeze dry without expensive equipment.
If freeze-drying at home sounds incredibly time-consuming, you can always contact us. Here at Valley Food Storage, we do all of the hard work for you. You can simply enjoy the farm-fresh flavor of our freeze-driedfruits and vegetables as they arrive on your doorstep.
Thank you for reading this article. For more helpful information, visit our Practical Prepper Blog. We have a greatbug-out bag checklist, some tips for thebest survival food to store, and some tips forgetting started prepping.
With the tumultuous nature of our world, from potentialgrocery store food shortages tosurviving hyperinflation, there's never been a better time to become more self-reliant.