Despite their humble beginnings, root cellars tend to be overdesigned. However, your root cellar plans do not have to be extravagant. Let’s not forget they are just holes in the ground, people!
With a modest budget and some effort, you can install an inexpensive DIY root cellar in your home or backyard.
Keep reading if you are curious about root cellars. We will explain why root cellars are so effective and share 10 ideas for how to make a root cellar at home.
Understanding the Concept of a Root Cellar
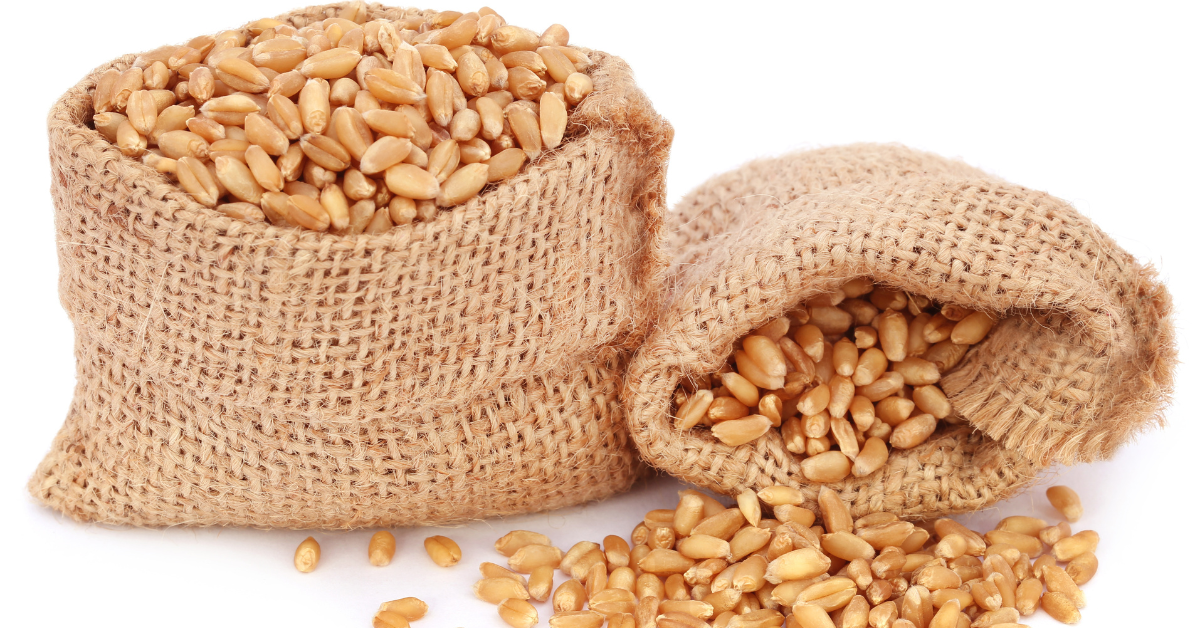
Root cellars are used to keep a variety of food fresh for long periods of time without electrical refrigeration. So despite the name, you aren’t limited to keeping roots down there!
- Fresh fruits and vegetables
- Jars of pickled produce
- Seeds and rhizomes
- Wine and beer
- Food coated in food wax
Root cellars date back to the 18th century. Root cellars were typically vaulted, lined with stone, and had some sort of entryway with a door and steps. However, over the years, root cellar plans and materials used to execute the design have evolved substantially.
While root cellars are primarily used to keep a variety of food fresh for long periods without electrical refrigeration, they are not just limited to roots.
Root cellars have a rich history dating back to the 18th century. Traditionally, these structures were vaulted, lined with stone, and featured an entryway with a door and steps. However, root cellar plans and the materials used in their construction have evolved substantially over time.
Why Root Cellars Are Essential
There are many reasons why root cellars are fantastic, the first of which being that they are extremely energy efficient. Once they’re constructed, root cellars do not require electricity or fuel to operate. This means you can keep your utility bills lower.
Another advantage of root cellars is their ability to preserve the quality of your food. This means you can have delicious spring and summertime crops preserved for use during the winter and winter root crops preserved all the way through the warmer parts of the year, even with a small home garden.
These qualities of root cellars add to the third advantage of root cellars: food security. With root cellars, you can store more food for longer periods. Therefore, you become more self-reliant, and less reliant on conventional grocery stores for your food.
With a root cellar, you will no longer be at the mercy of supply-chain interruptions andgrocery store food shortages.
Root cellars come with numerous benefits, with energy efficiency leading the pack. Once built, root cellars require no electricity or fuel to function, which could potentially reduce your utility bills.
Furthermore, root cellars can significantly enhance the longevity and quality of your food. This means your favorite spring and summer harvest can be preserved for consumption during winter, and winter root crops can last all through the warmer parts of the year.
Building a Successful Root Cellar: Key Elements
Not all root cellars are created equally. To build a root cellar that effectively stores your food, it needs to meet five essential criteria:

- Cool Temperatures
The first key component for effective root cellars is the temperature. Ideally, a root cellar will keep a temperature of 32 to 40 degrees Fahrenheit, or 0 to 4.5 degrees Celsius. Generally, the cooler the temperature (without freezing), the better, because less ethylene gas will be released from the crops.
For effective DIY root cellar plans, the temperature is crucial. Ideally, a root cellar should maintain a temperature of 32 to 40 degrees Fahrenheit or 0 to 4.5 degrees Celsius. The cooler the temperature (without freezing), the better, as it slows down the release of ethylene gas from the crops.
To get the right temperature, location is everything. Typically, a place with minimal sunshine, like a north-facing slope or shaded area behind your home, is the best.
Root cellars need to be built below the frost line to prevent freezing. The depth at which your soil freezes will depend on your geographic location. So, doing some research before you start digging is advisable.
2. High Humidity
The next essential element for root cellars is high humidity. Ideally, a root cellar should have a humidity level of 85-95%. This level of humidity prevents moisture loss and evaporation, which helps avoid food withering.
To achieve the right humidity level, selecting a location with good drainage is important. The type of soil around your home will dictate how well it drains, and you can combine it with a DIY rain collection system to help regulate the humidity.
To prevent waterlogging and ensure adequate drainage, we recommend using dirt or gravel in your DIY root cellar plans. Natural materials on the floor will also humidify the area naturally and help keep the food fresh.
3. Embracing Darkness
As you might suspect, it is dark underground. That is a good thing. Your root cellar should never be exposed to natural sunlight. Sunlight heats things up and encourages rotting.
Darkness reduces food deterioration and prevents sprouting.
This doesn’t mean you cannot have lights in your root cellar. If it’s big enough, you will want to add some lighting to see. You can also use headlamps, flashlights, or lanterns.
4. Good Ventilation
For effective root cellar plans, proper ventilation helps maintain the right temperature and humidity within the root cellar.
The movement of cool air prevents the growth of mold mildew. Plus, proper ventilation will help push out the ethylene gas that is being released from your produce, all of which will contribute to the shelf-life and quality of your food.
5. Accessible Location
Lastly, as you think about your DIY root cellar, you want to consider its accessibility. The location of your root cellar is important to maintaining the correct temperature and humidity level. But it’s also important to ensure that you can access it easily.
You don’t want your root cellar to be a chore. Accessibility of your root cellar increases its usefulness and functionality. This is especially true if you live in areas that experience snowfall. To deal with snow, you might consider constructing your root cellar beneath a shed or covered area.
10 DIY Root Cellar Ideas
Root cellars come in all shapes and sizes, and can be constructed with various materials. Root cellars can be professionally installed; however, if your budget cannot accommodate professional installation, we wanted to give you ten inexpensive DIY root cellar ideas.

Buried Old Freezer or Refrigerator
The next time you go to a garage sale and see an old freezer or refrigerator, buy it! Believe it or not, freezers and refrigerators make for perfect root cellars.
Freezers and refrigerators are robust and perfect for insulating fruits and vegetables. However, the one drawback of using a freezer or refrigerator as a DIY root cellar is their lack of ventilation.
If you want to try out this idea, we recommend drilling holes in the freezer or refrigerator and installing PVC pipes with access above ground to facilitate ventilation.
Bucket or Trash Can Cellar
Root cellars can be created with buckets and trash cans. Yes, a bucket or trash can root cellar will be small. But if you bury multiple in your backyard, we promise you will be impressed with how much food you can keep.
With bucket and trashcan cellars, or cellars made with other plastic vessels, it’s crucial to insulate with straw or hay. You can insulate the vegetables from one another with hay, but we recommend protecting the entire bucket, barrel, or trash can with hay or straw as well.
It is also essential to drill small holes in the bottom of the plastic cellar to accommodate adequate drainage.
Seasonal Cellars
Most times, root cellars are buried into the ground around your home. However, if you do not have ample time for a construction project, or just don’t want to dig a hole, you can simply use the cool and dark spaces you already have around your home.
Seasonal cellars, such as garages, attics, or other outbuildings, provide valuable space for storing fruits and vegetables. These spaces work best if you live in a location with a mild climate throughout the hotter months and cold winters.
Earthbag Root Cellar
Earthbags are like sandbags that you fill with soil and other organic material. Compared to other materials, earthbags are extremely economical. Plus, you do not have to dig a hole. Once the earthbags are adequately filled, they are placed like bricks to create the structure of the root cellar.
However, as you might imagine, earthbags are a rather labor-intensive project. Nevertheless, earthbags are extremely good at creating an environment with the correct temperature and humidity level.
Cinder Block Root Cellar
If you want to go all-in with your root cellar, we recommend acinder block root cellar. A cinder block root cellar will require a substantial investment of time and money, but we doubt you will be disappointed with the results.
Cellar Under the Porch or Deck
[product_render product-handle="7-day-emergency-food-supply"]
If you are like most preppers, you love taking advantage of all the unique spaces in your home to storeemergency survival food and other supplies. So why not take advantage of the space underneath your patio, porch, or deck?
A root cellar under the porch is ideal because of how dark and cool the space remains year-round. You can simply install a hatch door into the floor of your porch that gives you access to the space underneath. Then you can store food in buckets, totes, or barrels so your food can remain fresh and free from rodents or insects.
Crawlspace Cellar
The crawlspaces around our homes are often underutilized. If anything, we stuff them full of miscellaneous items that we never use and forget. So why use the crawlspace in your home as a root cellar?
Crawlspaces make good root cellars because they are well insulated. Plus, crawlspaces are almost always dark.
Basement Food Storage
If you live in a part of the United States where houses are commonly built with basements, then you are in luck, because you got a root cellar installed without even asking for it!
Basements are the perfect place for long-term food storage. We love basements as root cellars because of how accessible they are. They require no venturing outside in the cold to replenish your food reserves.
Root Cellar From Recycled Materials
If you want to make a root cellar, you do not have to use state-of-the-art design plans and materials. Instead, you can create a perfectly functional root cellar from recycled materials.
Old automobile and tractor tires provide the most popular material for this type of root cellar. Tires are fantastic because they are affordable and excellent at insulating your food from animals and moisture.
In-Ground Root Cellar
An in-ground root cellar is the most traditional and effective root cellar design. If you have the time and budget, we cannot recommend this type of root cellar enough. Root cellars are perfect for keeping your produce fresh, as well as other supplies, like your72-hour kit.

In addition to all the root cellar ideas mentioned above, there are also variations in design depending on the size and type of produce you want to store. For instance, bins and shelves can be installed to provide additional storage space, and ventilation methods can be tailored according to the specific types of fruits and vegetables being stored. Different produce requires different conditions, so understanding the needs of what you intend to store will further ensure your DIY root cellar’s efficiency and longevity.
Tips For Storing Food in Your DIY Root Cellar
Constructing a root cellar on your property is fantastic. But now you need to know how to use it properly. Having some root cellar plans for what you want to store and how you plan to store is equally as important as the cellar itself.
Here aresome tips to consider when you begin storing food in your DIY root cellar.
-
After harvesting your produce from your prepper garden, shake off excess dirt instead of washing it with water. Most root cellar vegetables will keep longer when they are put away dry and with a bit of dirt rather than clean and wet.
-
As you handle your fruits and vegetables, do so carefully. Rough treatment of your products can cause bruising, which will encourage decomposition.
-
Some fruits, such as pears and apples, like to breathe. Therefore, these fruits should be placed in paper before storage to slow down the release of ethylene gas, which can cause the fruits to spoil faster.
-
As you organize your fruits and vegetables in your root cellar, we recommend spacing them out on the shelves, and rotating the shelves periodically as well.
- Stock your root cellar as late in the season as possible. To do so, you may need to refrigerate some of your produce before putting it in the root cellar. After stocking, check in on your fruits and vegetables regularly and remove any that have signs of rot.
Another useful tip to note is the utilization of wood in your root cellar plans. Certain types of wood, such as cedar, are naturally resistant to insects and mold, making them an ideal choice for shelving. Be mindful though, the wood should be untreated to avoid chemicals potentially affecting your stored produce. Additionally, to better manage your stored produce, consider labeling your shelves or bins. This can help you keep track of what’s in your root cellar, when items were added, and their expected storage life.
One more aspect that's crucial to root cellars that hasn't been mentioned in this article yet, is pest control. Rodents and insects can wreak havoc on your stored food, so it's essential to incorporate measures that prevent their access to your cellar. This can range from physical barriers to using certain herbs and spices known for their deterrent properties. Always inspect your root cellar regularly for signs of pests and take immediate action if you spot any.
Final Thoughts on How to Build a Root Cellar
Root cellars are an inexpensive and energy-efficient solution to preserve fresh food for an extended period. Once you've found your best place to live off grid, they are ideal for storing garden harvests or the fruits and vegetables you bought from the grocery store.
But you don’t only have to keep fresh produce in your root cellar. If you have a root cellar and are ready to stock it with thebest survival food and food with a25-year shelf life, visit our website.