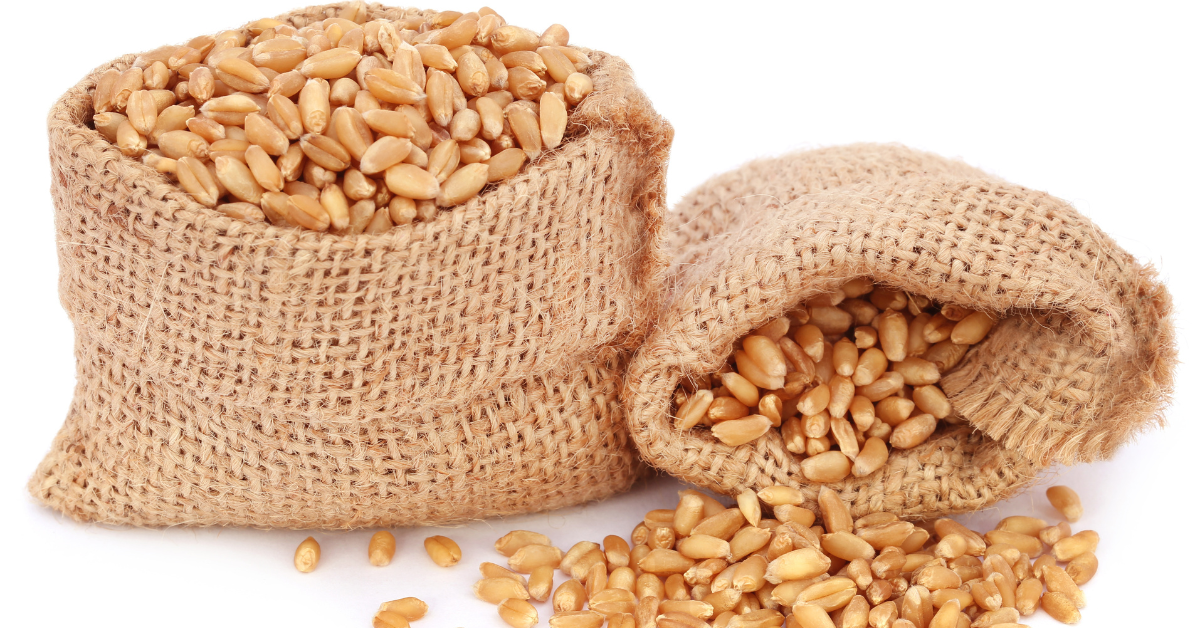
Storing seeds so that you’re ready to grow your own food is a popular and effective strategy that many preppers incorporate into their SHTF (sh•t hits the fan) preparedness plans. By saving seeds and growing your food, you can mitigate the negative impacts that natural disasters, societal upheavals, and economic depressions can have on your family’s food security.
When grocery store shelves run out, a robust seed storage plan can be the difference between surviving and starving. Yourfood storage will only last so long before you need to be able to produce your own food in a true society-ending disaster.
[product_render product-handle="72-hour-emergency-food-kit"]
If you have been wondering how to store seeds, keep reading. Below we will discuss the importance of seed saving, the three critical conditions for saving seeds (cool, dry, and dark), and share some tips for how to select and harvest seeds from your own survival garden.
An In-Depth Look at Seed Storage

Storing seeds is the process of preserving seeds under controlled conditions that will help prolong the viability of the seeds for long periods. While these seeds may come from plants you grow in a big bountiful garden every year, that’s not a must.
Instead, you can prepare for unexpected SHTF scenarios by purchasing seeds and safely storing them under controlled conditions. Then, when you need to start gardening, you won’t need to worry about finding seeds to purchase because you’ll already have the right seeds for your needs and your area.
A Step-by-Step Guide: How To Store Seeds for Emergencies
To incorporate seed storage into your emergency preparedness plans, purchasing seeds is the easiest way to get started. When investing in new store-bought seeds to start storing at home, we recommend considering the following.
- Purchase your seeds from a reputable retailer. You want to buy high-quality seeds at a fair price. To do that, do some research andselect a reputable retailer that specializes in the types of seeds you want to buy.
-
Avoid hybrid seeds and look for heirloom seeds. Seeds that have been hybridized contain DNA makeup from multiple plants. These plants can be grown fine the first time, but their quality is reduced if you save the seeds. Some hybrid seeds are even designed to only last one growing season. This may or may not be okay for regular gardening, but if you can’t buy new seeds anymore, you’re going to need plants that reproduce well year after year, which is exactly what you get from heirloom seeds.
-
Think about your space. Space in your survival garden is precious. If you know you only have a limited space to work with, you might avoid buying seeds for space-hogging crops like corn.

-
Buy what you enjoy. If you are going to grow food, you might as well enjoy it. So when you buy seeds, select varieties of plants you and your family can look forward to growing and eating.
- Look for disease-resistant varieties. By selecting disease-resistant varieties, you can save time in the future by not having to deal with as many or severe plant diseases.
After you’ve invested in a stockpile of high-quality seeds for plants that you will enjoy growing and eating with your family, it’s time to properly store them so they can remain viable for years to come.
Ideal Conditions for Long-Term Seed Storage
To ensure that your seeds last a long time and do not spoil, you must set them up for success.
This is especially true after purchasing seeds that you intend to keep long-term. You must consider the ideal conditions for seed storage, especially if you aren’t growing a garden that can replenish your seeds every year.
Seed storage relies on three critical qualities that make prepper pantries and root cellars successful: The area where your seeds are kept must be cool, dry, and dark.
A temperature between 32 and 41 degrees Fahrenheit is ideal. Therefore, your refrigerator can be a good place to store your seeds. However, other cool locations, like your basement or a closet, are good options as well.
With seed storage, moisture is the enemy. If you allow moisture into your seeds, they will grow mold and spoil. Therefore, keeping your seeds dry is essential. Here are three tips for keeping moisture away from your seeds:
-
Store your seeds in paper packets instead of plastic, because plastic can trap moisture.
-
Keep your seeds withsilica-gel desiccant to absorb moisture. Alternatively, you can use rice orpowdered milk to absorb moisture.
- After placing your seeds into paper containers, stash them in an additional container for extra protection, like an ammo canister, mason jar, orseed organizer.
As always, the darker the location, the better. Exposure to natural sunlight may encourage the seeds to begin germinating. Therefore, keeping your seeds in opaque containers is a good strategy. However, if you don’t have any opaque containers, keep your seeds in an area without a lot of natural sunlight.
The Anticipated Shelf-Life of Certain Seeds

Seeds have varying shelf lives, much like the foods you have prepped in case of afood shortage. As your seeds approach the end of their shelf-life, it may be necessary to rotate out the older seeds with fresh ones.
|
About 1 Year |
3–4 Years |
5–6 Years |
|
Peppers |
Brussels Sprouts |
Lettuce |
|
Leeks |
Cauliflower |
Mustard |
|
Sweet Corn |
Cabbage |
Cucumbers |
|
Chives |
Celery |
Radishes |
|
Shallots |
Watermelons |
Endives |
|
Parsnips |
Tomatoes |
Basil |
|
Parsley |
Peas |
|
|
Onion |
Carrots |
|
|
Garlic |
Beans |
|
|
Asparagus |
||
|
Eggplants |
||
|
Squash |
Specific Tips for Long-Term Seed Storage
If you already have a stockpile of food in a root cellar or basement, and other emergency supplies likewater barrels stored around the house, then you are already practicing good storage habits to ensure your supplies last a long time.
Nonetheless, here are some additional tips specifically for your seed storage.
Save Heirloom Seeds
Whenever possible, save heirloom seeds.
A seed variety is considered an heirloom if it has existed for more than 50 years. Heirloom seeds are passed down from generation to generation to ensure that desirable characteristics continue to thrive.
- Heirloom varieties of plants are known for being aesthetically beautiful.
- Heirloom varieties are often the best-tasting.
- Heirloom varieties are well known for being hardy plants that can withstand difficult growing conditions.
- Perhaps most importantly, heirloom seeds reproduce true to form, meaning that tomatoes or cabbage you grow from the seeds you’ve saved will be the same year after year.
Keep Your Seeds Organized

Your seed-saving strategy will be much more effective if you stay organized throughout.
-
Stash like with like.If you have a large seed bank with multiple varieties of certain crops, keep the unique varieties of seeds in separate paper containers, but then keep the family of crops together. For example, you can organize vegetables, herbs, and flowers into categories.
- Label your seeds.Every single one of your seed containers must be properly labeled. In your labels, include the name of the plant, the variety, and the date you collected them.
- Put the oldest seeds in front. Using the “first in, first out” (FIFO) strategy for seed saving will help you rotate through the seed stockpile efficiently.
How to Formulate a Backup Plan
Seed saving and growing your own food is a potent way to preserve your food security and maintain self-reliance. However, the reality of the situation is that unexpected events can occur. For example, your survival seeds may spoil, or your garden may have a bad harvest.
So, if seed saving was your backup plan for food shortages after an SHTF event, what's your backup plan if your seeds are not viable?
For most people, freeze-dried and dehydrated emergency food is the answer. Professionally prepared and packaged freeze-dried and dehydrated emergency food are two ofthe best foods to stockpile.
Why? Because freeze-dried and dehydrated foods likefreeze-dried vegetables have been proven to stay fresh for decades while maintaining their natural color, delicious flavor, and nutritional content.
The Art of Seed Saving: How to Save Seeds from Your Own Survival Garden
After you’ve planted the seeds you purchased to prepare for an SHTF event all those years ago, you can continue saving seeds from the plants you grow in the backyard.
The process is relatively simple. It involves selecting suitable plants to save seeds, harvesting them at the correct time, and storing them properly.
What Is Seed Saving?
Seed saving is the practice of preserving seeds from your garden instead of purchasing new seeds every year from seed companies or catalogs.
Seed saving is important for several reasons:
-
It allows you to remain self-sufficient in growing your food from your seeds.
-
Saving seeds helps varieties of plants adapt better to the specific climate and conditions you live in.
- Seed saving allows you to select particular characteristics that you prefer by saving seeds from fruits or plants that taste the best, are the largest, have the best disease resistance, or ripen earliest, which helps these characteristics evolve in the next generation.
Selecting Suitable Plants
Self-pollinating plants, such as peppers, tomatoes, peas, beans, and tomatoes, are good for seed saving. Self-pollinating plants have flowers that self-pollinate, which creates seeds that require no special treatment before storage.
Cross-pollinated plants have separate male and female flowers, such as vine crops and corn. Therefore, with cross-pollinated plants, it can be challenging to keep seed strains pure.
Open-pollinated plants are the best for seed saving. When open-pollinated plants set seed, they grow into plants that are very similar to the parent plant, but with enough variation that you can save the best seeds and grow even better plants next year. This helps maintain a pure and reliable seed stock. You can do this by selecting seeds only from plants that you prefer.
Harvesting Seeds for Storage

Harvesting the seeds at the proper time is essential for the longevity and success of your seeds.
First, you want to allow the plants to flower and go to seed. In the case of fruits and vegetables, this means allowing the crop to ripen fully. For flowers, it’s best to let the seeds dry on the plants. Either way, you have to resist the urge to harvest the seeds prematurely.
Next, you need to remove the seeds from the rest of the plant. Depending on the plant, this could mean removing pods, capsules, or seed heads. For crops like peppers and tomatoes, this will entail scooping the seeds out of the ripened crop.
Once you have a collection of seeds, you need to set them to dry. The low-tech way to dry your seeds is to set them out on parchment paper or a paper towel. Ideally, the room you set them in to dry will be between 60 and 96 degrees.
Alternatively, the high-tech way to dry seeds is with a food dehydrator. However, with a food dehydrator, you have to be careful not to expose the seeds to too much heat. Otherwise, the embryo may be damaged, and it may not germinate. To avoid this, use the lowest heat setting on your dehydrator.
After the seeds have been allowed to dry completely, they will be ready for storage.
Lastly, it's worth noting that not all plants produce seeds that can be saved. Some plants, such as many hybrids, produce sterile seeds or seeds that don't grow true to their parent plant. Hence, it's essential to know whether the seeds you plan to save will be viable and grow true to form in future plantings.
Final Thoughts: Seed Storage is a Vital Survival Tool
If you are a homesteader or prepper with a green thumb, then seed storage should undoubtedly be part of your emergency preparedness plan. It can be an effective strategy for ensuring your ability to grow your own food and survive when supermarkets become unreliable.
For more helpful articles like this one, visit ourPractical Prepper Blog. For questions about our non-GMO, nutritious, and high-quality products,speak with an expert today. We are here to help..